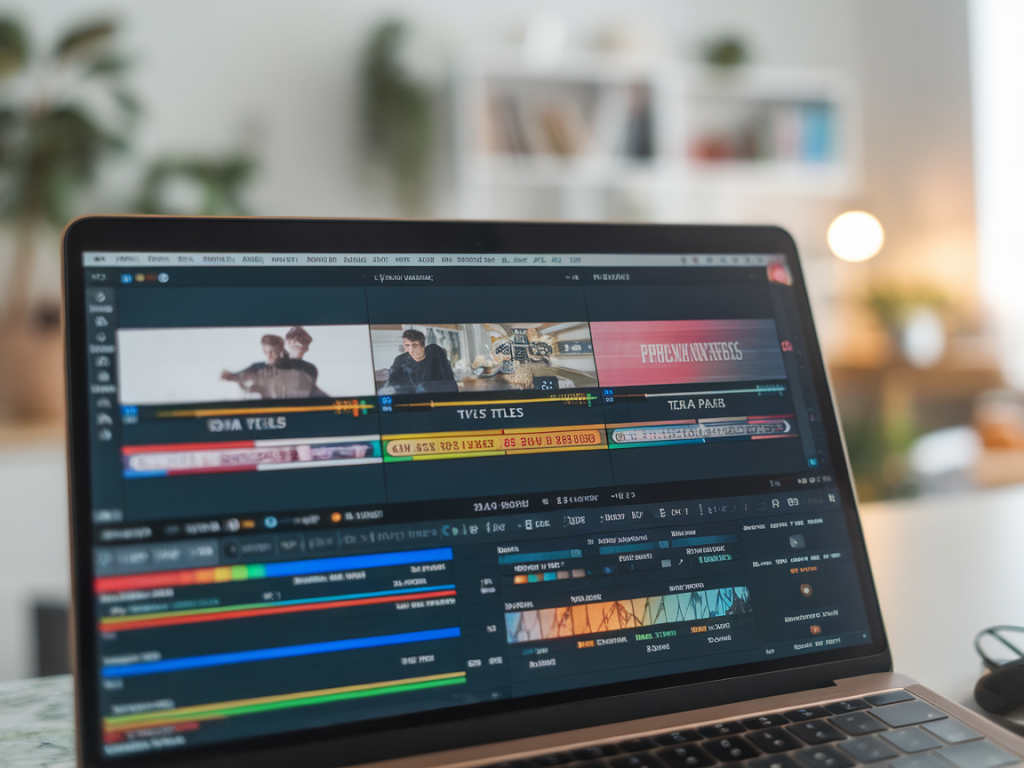
I’ve been editing video for years — short product demos, long-form explainers, and the occasional splashy promo — and one thing’s clear: raw footage isn’t the bottleneck, attention to detail is. AI tools have evolved from novelty effects into practical time-savers that preserve (or even improve) quality when used thoughtfully. Below I share the five AI tools I reach for when I need to speed up editing without sacrificing the finish I expect for Techtoinsider pieces.
What I look for in an AI video tool
Before I list favorites, here are the criteria I use when testing:
If a tool checks most of those boxes, it becomes a repeatable part of my toolkit.
Runway — AI-first editing that plays nicely with pros
Runway has come a long way from being a plaything for creators to a serious assistant for editors. I use it when I need a fast pass: automatic scene detection, background removal, and motion-aware inpainting are particularly useful.
Export options are robust, and I appreciate that you can export layers to common NLEs. That interoperability makes it a practical accelerator rather than a walled garden.
Descript — the fastest way to edit by editing words
Descript turned my approach to talking-head videos upside down. Instead of scrubbing through footage to find ums and awkward pauses, I edit the transcript and Descript reflects those edits in the video. For explainer videos and software walkthroughs, it’s a game-changer.
The combination of filler-word removal, simple captions generation, and quick export presets means I can produce a social clip and a full video in a single session.
Topaz Video AI — upscale and denoise without guesswork
I keep Topaz in my tools folder for rescue missions: older footage shot on budget cameras or noisy low-light clips. Its AI-driven upscaling and denoising deliver surprisingly natural results without the typical plastic look of over-aggressive filters.
Pika Labs / Sora-style generative tools — quick b-roll and concept shots
For concept videos or to fill gaps while waiting on client assets, I use generative video tools like Pika Labs and Sora. They’re not replacements for shot footage, but they’re fantastic for rapid prototyping or creating abstract transitions, lower thirds, and illustrative b-roll that would otherwise require a shoot.
Adobe Sensei features inside Premiere Pro — practical on-the-timeline AI
If your workflow lives in Premiere Pro, Adobe’s Sensei-powered features are worth keeping enabled. Auto Reframe, Scene Edit Detection, and the new Speech-to-Text captions are integrated where you already work, which is powerful.
Practical tips for using AI without ruining your polish
From my testing and real-world edits, here are rules I follow so AI accelerates rather than degrades quality:
How I choose which task to automate
I prioritize automating repetitive, low-creativity tasks: audio cleanup, filler-word removal, captions, matching exposures across clips, and simple background fixes. Anything that changes narrative or emotional intent — pacing, performance edits, key focal moments — I handle manually. That balance preserves the human elements viewers notice while reclaiming hours of tedious work.
| Task | AI tool I use | Why |
| Transcript-based cleanup | Descript | Fast, accurate text-driven edits and captions |
| Background removal / inpainting | Runway | Quick, editable alpha mattes and object removal |
| Denoise / upscale | Topaz Video AI | Natural-looking detail recovery for rescue footage |
| Social cuts / reframing | Premiere Sensei / Auto Reframe | Integrated, fast format variants with timeline control |
| Concept b-roll & stylized visuals | Pika Labs / Sora | Rapid prototyping and illustrative plates |
These are the tools I reach for when time is tight but quality can’t be compromised. Use them to automate the tedious stuff, not the judgments that make your video resonate. If you’d like, I can share a step-by-step workflow for a typical 10-minute explainer that combines these tools — say the exact sequence, file formats, and export settings I use for Techtoinsider videos.