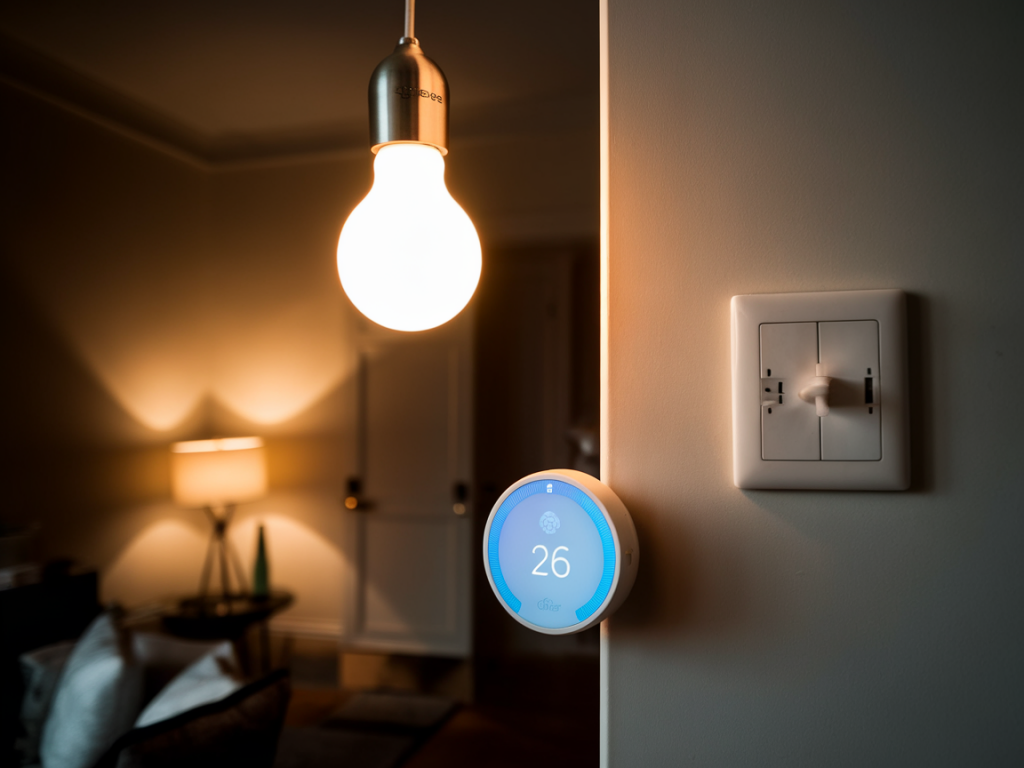
I’m going to walk you through how I automated my lights, motorized blinds, and daily routines using Home Assistant and a handful of reliable Zigbee devices. This setup has been the most impactful upgrade in my home: it’s secure, local-first, and flexible enough to grow. I’ll share the exact steps I took, common pitfalls, and practical tips so you can copy, tweak, or expand the system without wasting time on dead ends.
Why Home Assistant + Zigbee?
Home Assistant gives you a local, privacy-focused automation platform with an active community and tons of integrations. Zigbee is an excellent low-power mesh protocol widely supported by bulbs, switches, blind controllers, and sensors. Together they let you control lights and blinds reliably without cloud dependency. I prefer this stack because it keeps automations fast, secure, and resilient during internet outages.
What I used (hardware and software)
Below is a compact list of the components I chose — you can mix and match brands, but these are tested and friendly for Home Assistant beginners:
| Category | Example models | Why I picked them |
|---|---|---|
| Zigbee Coordinator | ConBee II, Sonoff Zigbee 3.0 USB Dongle (SLA) | Plug-and-play with Home Assistant’s ZHA integration or deCONZ; reliable mesh support |
| Smart Bulbs | Philips Hue Zigbee, Sengled Zigbee | Good color and dimming support, widely compatible |
| Smart Switches / Dimmers | Sonoff Zigbee Switch, Aqara Smart Wall Switch | Preserve physical switches while adding automation |
| Blind Motor | IKEA Fyrtur (Zigbee), Zemismart Zigbee motor | Native Zigbee control or Zigbee-to-IR/relay support |
| Sensors | Aqara Motion, Xiaomi door/window | Trigger routines and presence-aware automations |
Step 1 — Get Home Assistant up and running
I installed Home Assistant OS on a small NUC-class PC, but you can use a Raspberry Pi 4. Key tips from my setup:
- Use Home Assistant OS for the simplest experience: snapshots, add-ons, and Supervisor are ready out of the box.
- Assign a static IP or DHCP reservation on your router — it prevents headaches later.
- Enable SSH & Web Terminal add-on and create regular snapshots before major changes.
Step 2 — Connect a Zigbee coordinator
I plugged a ConBee II into the machine running Home Assistant and used the ZHA (Zigbee Home Automation) integration. Alternatively, deCONZ is useful if you prefer the Phoscon UI. Steps I followed:
- Open Home Assistant UI → Settings → Devices & Services → Add Integration → search for "ZHA".
- Select the serial port for your coordinator (on Linux it looks like /dev/ttyACM0 or /dev/ttyUSB0).
- Follow the pairing instructions — put devices in pairing mode and they will appear as entities.
Note: If you have many Zigbee devices, plan your coordinator placement centrally and consider USB extension to reduce RF interference from the host.
Step 3 — Add lights and switches, preserve the switch
For switches, I prefer wiring in-line relays or using Zigbee-enabled wall switches that keep the physical switch functional. This avoids issues when guests flip a switch and break automations.
- Pair bulbs or switches via ZHA. They appear as light entities in Home Assistant.
- Rename entities to clear names like light.kitchen_main or switch.living_room_shades.
- Set up device-specific attributes (color temperature limits, transition times) in the entity configuration if needed.
Step 4 — Motorized blinds: pairing and calibration
I used IKEA Fyrtur roller blinds where possible. For other motors (Zemismart or custom motors with Zigbee relays), the process is similar:
- Put the blind motor in pairing mode (check the manual; often a button or sequence on the controller).
- Pair it with ZHA — it will appear as a cover entity in Home Assistant (e.g., cover.living_room_blinds).
- Manually test open/close/stop to confirm limits. If your motor supports position reporting, set the calibration or adjust the percent values until actual position matches reported value.
Tip: If blinds don’t report position well, create an automation to move them fully open and closed once to recalibrate, then set intermediate positions programmatically.
Step 5 — Build practical automations and routines
I split automations into three categories: time-based, presence-based, and event/scene-based. Here are examples I created (you can import or adapt these):
Morning routine (time + sun)
Goal: Gradual wake-up that opens blinds partially and ramps lights on if it’s still dark.
- Trigger: At 07:00 or sunrise (whichever comes later).
- Conditions: Weekdays only (optional).
- Actions: Set blinds to 40% (cover.set_cover_position). Turn on bedroom lights to 10% for 10 minutes, then 40%.
Away mode (presence-aware)
Goal: Turn everything off and lower blinds when last person leaves.
- Trigger: Last person leaves (device_tracker, Home Assistant's person entity).
- Actions: Turn off all lights, close blinds, enable alarm or set 'away' scene.
Movie mode (scene-based)
Goal: Create a single button that dims lights and closes blinds.
- Create a scene with lights at 10% and blinds closed.
- Use a Zigbee button or press-and-hold on a switch to activate the scene.
Step 6 — Make automations robust
Some lessons from debugging my own automations:
- Use conditions to prevent conflicting actions (e.g., avoid opening blinds during strong sun even if time-based rule fires).
- Implement "safe states": if a command to a blind fails, retry after a short delay and notify you via mobile push.
- Prefer scenes for grouped state and automations for transitions. Scenes store end states, automations orchestrate timing.
Step 7 — UI and quick controls
I built a simple Lovelace dashboard with big buttons for common routines (Good Morning, Movie, Away) and sliders for lights and blinds. A few tips:
- Use conditional cards to show controls only when someone is home.
- Add templates to show current position or estimated remaining time for blind movement.
- Use a Zigbee remote or Aqara switch for physical control — map double-press and long-press to different scenes.
Troubleshooting common issues
Here are problems I ran into and how I fixed them:
- Zigbee range problems: added a couple of mains-powered Zigbee devices (smart plugs or outlets) to strengthen the mesh.
- Device won't pair: factory-reset the device and ensure it's close to the coordinator during pairing.
- Unexpected automation triggers: add logs, use the Debug tools in Home Assistant to inspect states and triggers, and add cooldowns or wait conditions in automations.
If you want, I can share YAML snippets for the automations I described or a downloadable Lovelace dashboard you can import. Tell me which routines you care about most (wake-up, away, movie, energy-saving) and I’ll craft ready-to-use configs tailored to your device list.